
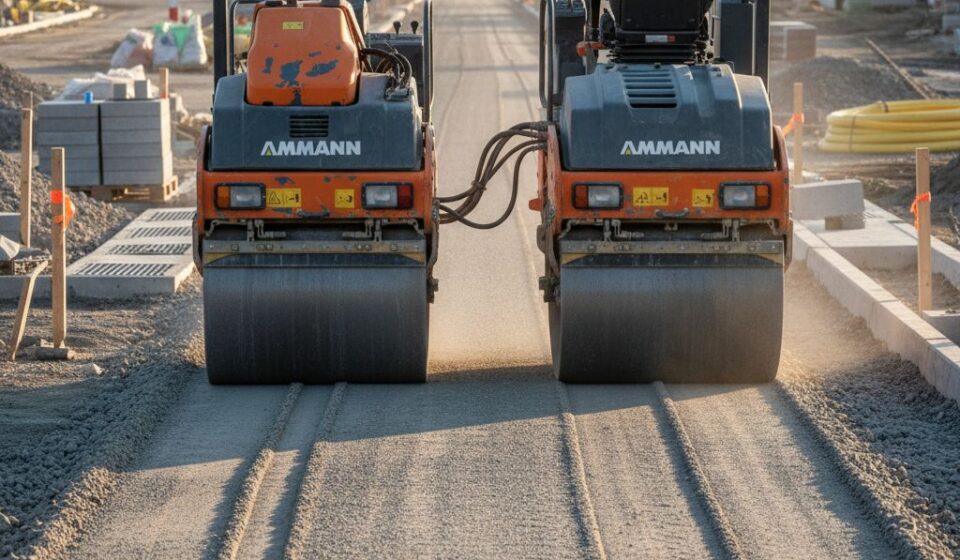

This guide will show you how vibrating rollers are necessary for effective compaction in everything from road construction to landscaping. You’ll learn what makes them tick and how to use them safely, avoiding common mistakes that could lead to costly project delays or even serious safety hazards.
Table of Contents
The real deal on the pros and cons
You’re probably wondering if a vibrating roller is truly the right fit for your next project. It’s a fair question, and the answer isn’t always black and white. Let’s break down what you stand to gain and what challenges you might encounter.
The serious perks of using a vibrating roller
You’ll achieve significantly higher compaction densities with a vibrating roller than with static models. This means stronger, more stable foundations and surfaces, leading to better long-term performance and reduced maintenance needs for your projects. Think about how much time and money that saves!
Let’s be real about the downsides you’ll face
While the benefits are clear, you’ll also need to consider some practical limitations. These machines can be more expensive to purchase and maintain, and they require a bit more skill to operate effectively to avoid damage to the equipment or the material being compacted.
Operating a vibrating roller isn’t just about driving it over the ground; you’ve got to understand the material’s moisture content, the proper vibration frequency, and the number of passes needed. If you get it wrong, you could end up with an uneven surface, or worse, you might even loosen previously compacted material. There’s a definite learning curve, and improper use can lead to costly reworks or damage to the roller’s internal components, like the vibratory mechanism itself.
| Pros | Cons |
|---|---|
| Achieves superior compaction density | Higher initial purchase cost |
| Creates stronger, more stable surfaces | Increased operational complexity |
| Reduces settlement and enhances load-bearing capacity | Can be slower on certain material types |
| Improved structural integrity for pavements and foundations | Requires skilled operators to prevent damage |
| Faster compaction times on large areas | Higher fuel consumption due to vibratory mechanism |
| Better long-term durability of compacted layers | Increased maintenance costs for specialized parts |
| Effective on a wider range of soil types | Potential for over-compaction in sensitive areas |
| Reduces future maintenance requirements | Noise and vibration can be significant |
| Can compact thicker layers per pass | Not ideal for very thin lifts or delicate surfaces |
| Versatile for various construction applications | Transportation can be more challenging for larger models |
Here’s the step-by-step on how you actually use it
Ready to get rolling? Operating a vibrating roller isn’t overly complicated, but you’ll want to follow a few key steps to ensure both safety and effective compaction. It’s really about getting into a rhythm and understanding what your machine is telling you.
What’s the first thing you should do before starting?
Always conduct a thorough pre-operation check. You’re looking for things like proper fluid levels, tire pressure, and making sure all safety guards are in place. Don’t skip this; it only takes a few minutes and can prevent big headaches later.
| Pre-Operation Checklist Item | Why It Matters |
|---|---|
| Check fluid levels (fuel, oil, hydraulic) | Low fluids can cause breakdowns and costly repairs. |
| Inspect tires or drums | Look for damage or excessive wear; proper inflation is key for effective compaction. |
| Test all controls and brakes | You need to know everything is responsive before you start moving. |
| Clear the work area | Remove any debris or obstacles that could cause damage or an accident. |
My take on the best way to move across the ground
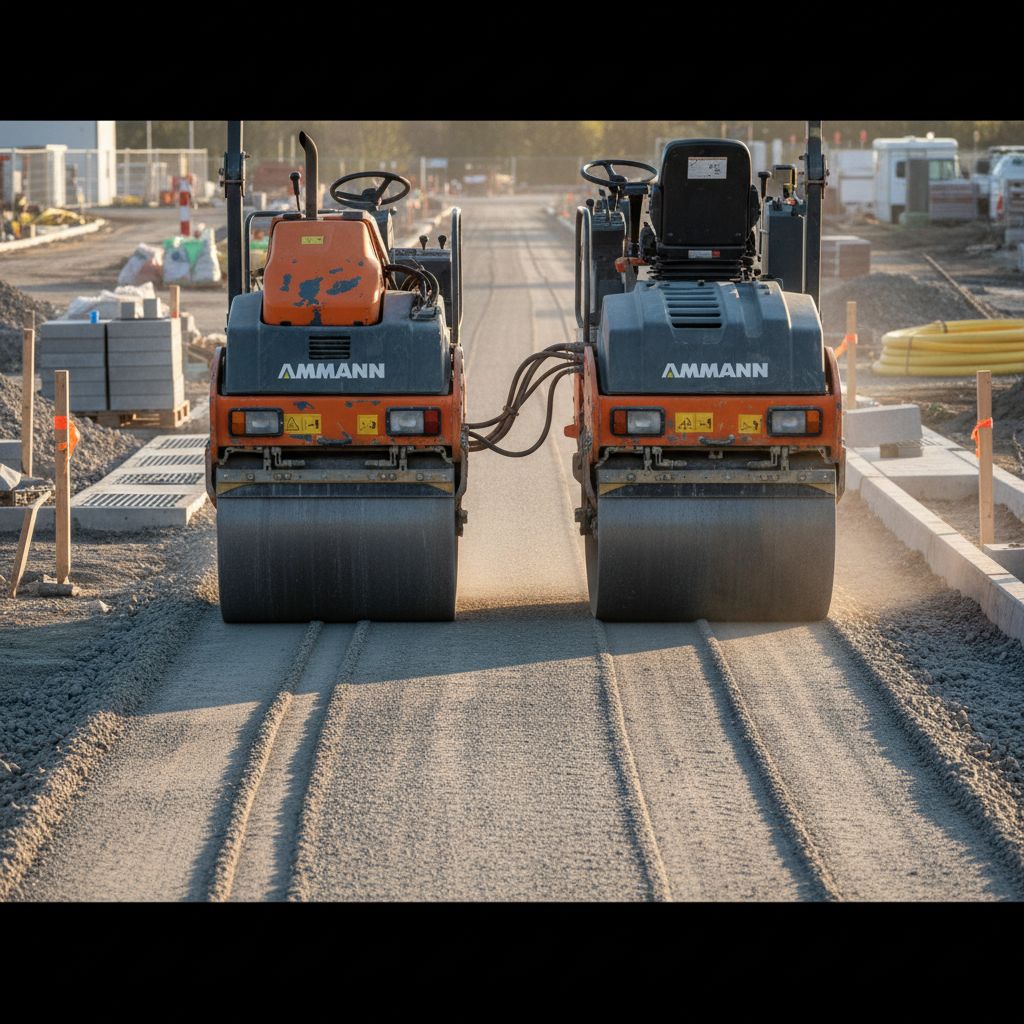
You’ll want to begin your passes on the outer edges of your compaction area, working your way inward. This helps prevent material from pushing out and creating uneven surfaces.
Keep your speed consistent and moderate; going too fast means you won’t get proper compaction, and too slow can actually over-compact or damage the material. Overlapping each pass by about six to twelve inches is a good rule of thumb, ensuring uniform coverage without leaving uncompacted strips. And always remember: smooth, controlled movements are far more effective than jerky, rushed ones.
My personal tips for getting it right every time
You’re going to get the best results by focusing on a few key things. Always start with a test strip to dial in your settings. And don’t forget your daily pre-operation checks; they really do prevent headaches. The right vibration frequency and amplitude make all the difference for optimal compaction.
- Always perform a small test strip first.
- Regularly check tire pressure and fluid levels.
- Match your vibration settings to the material type.
- Maintain a consistent, steady speed.
- Don’t forget proper overlap on each pass.
Why you shouldn’t ever rush the speed
Moving too fast is a common trap, and it severely reduces your compaction efficiency. You’ll end up with inconsistent densities and potential weak spots in your material. Rushing means you’re just not giving the vibrations enough time to work their magic. The slower, deliberate pace ensures uniform particle rearrangement.
Here’s how to handle moisture like a pro
Moisture content is a big deal and can make or break your compaction efforts. Too much water, and you’re just creating a spongy mess that won’t compact properly, leading to rutting. Too little, and you’ll struggle to achieve maximum density, often resulting in surface cracking. The sweet spot is critical for optimal results.
You’ll want to aim for what’s called the “optimum moisture content” for your specific material. This usually means the material feels slightly damp but isn’t sticky or squishy. If it’s too wet, you might need to aerate it a bit by turning the material over and letting it dry out. If it’s too dry, a light misting with water can bring it back into range. Getting this right prevents issues like aggregate crushing or, conversely, a lack of interlock between particles, both of which compromise the final strength and durability of your compacted layer.
Summing up
You’ve now got a solid grasp of vibrating rollers, from their core mechanics to practical application. Choosing the right one and using it correctly means you’re ensuring optimal compaction on your projects, whether it’s a small patch or a major road. You’re ready to tackle those compaction challenges with confidence.
FAQ
Q: How do you choose the right amplitude and frequency settings for a specific material?
A: Picking the right amplitude and frequency isn’t a one-size-fits-all situation; it really depends on the material you’re compacting and the desired density. For granular materials like sand or gravel, you’ll generally want higher frequencies and lower amplitudes. This helps the particles rearrange themselves more efficiently without excessive displacement.
Cohesive materials, think clay or certain types of soil, often benefit from lower frequencies and higher amplitudes. This provides a stronger impact, breaking down the internal friction and allowing for better compaction. It’s often a good idea to start with the manufacturer’s recommendations for your roller model and then make small adjustments based on test passes and your on-site observations of the material’s response.
Q: What are the common issues that can arise from improper use of a vibrating roller, and how can they be avoided?
Another issue is uneven compaction, often caused by inconsistent speed or not overlapping your passes sufficiently. This leaves weak spots in your surface, which can lead to premature failure. Make sure your operators maintain a consistent, steady speed and overlap each pass by at least a drum’s width – sometimes more, depending on the material. And always check your grade; an uneven surface before compaction will certainly be an uneven surface after.
Q: Can vibrating rollers be used on asphalt, and are there any special considerations for this application?
A: Absolutely, vibrating rollers are widely used for asphalt compaction, but there are definitely some special considerations. The key difference here is temperature. You’re working with a material that’s highly temperature-sensitive, and the compaction window is relatively narrow. You need to get your passes in while the asphalt is hot enough to be workable but not so hot that it shoves or tears.
Typically, for asphalt, you’ll use high frequency and low amplitude to achieve a smooth finish and proper density without fracturing the aggregate or creating ripples. Water systems on the drums are also critical to prevent asphalt from sticking, which can cause tearing and an uneven surface. You’ll often see tandem vibrating rollers used for asphalt, with the front drum vibrating and the rear drum providing static pressure for a final, smooth pass. Always consult the asphalt mix design specifications for optimal compaction temperatures and patterns.


